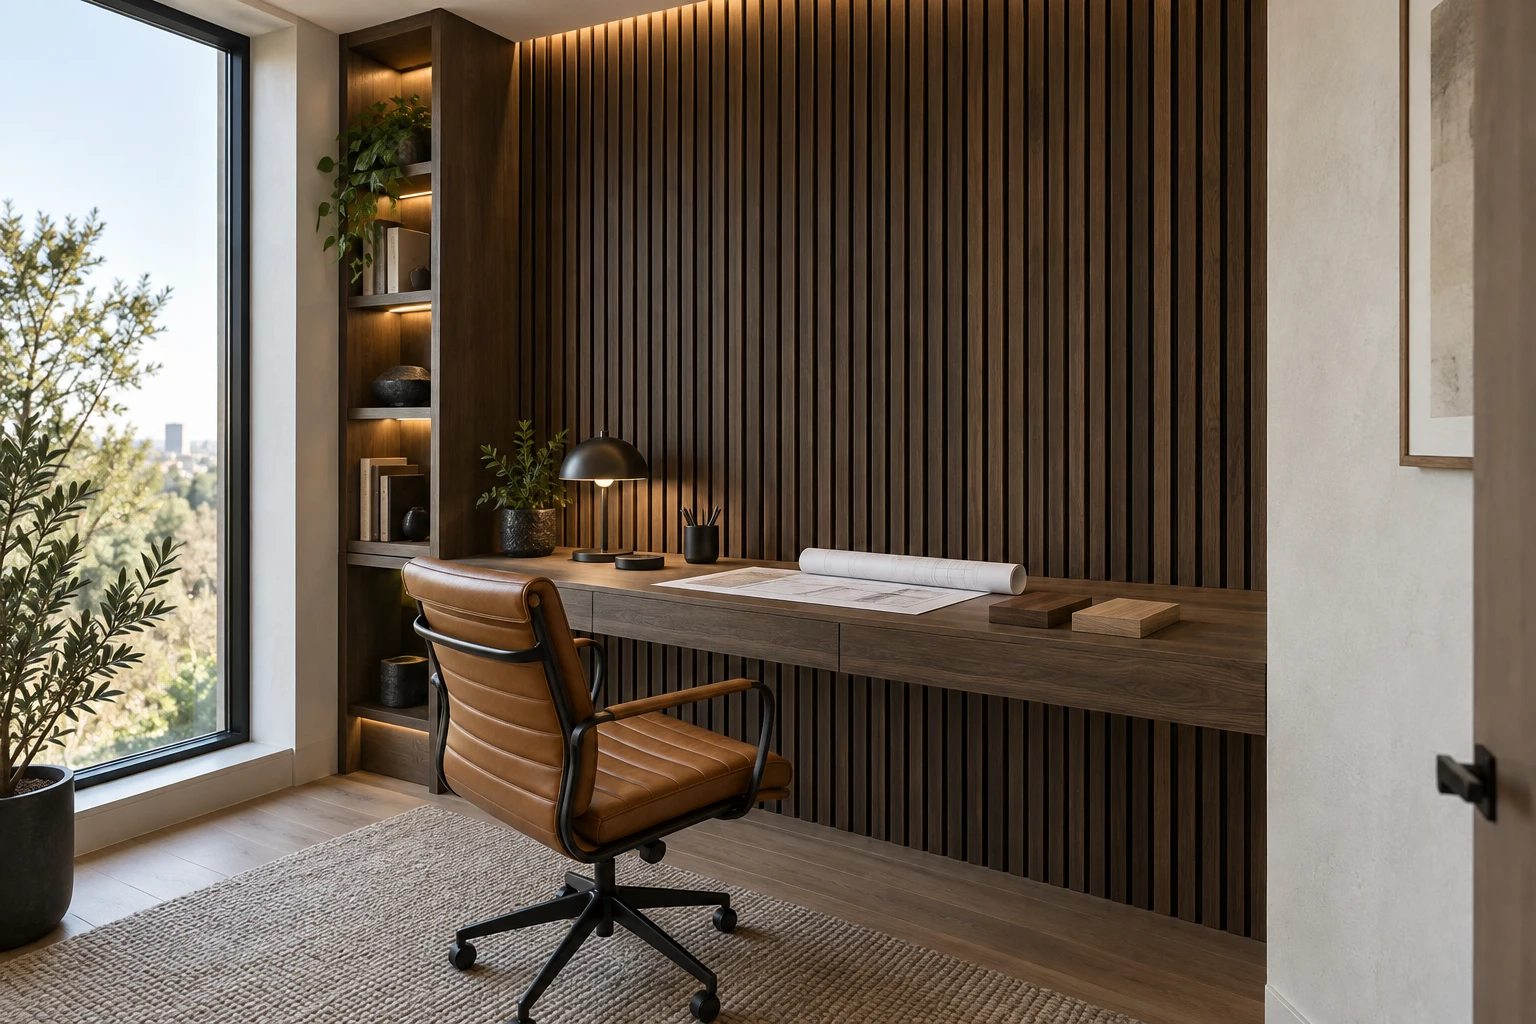
A wood slat accent wall looks simple, but the finished result depends on decisions made before the first board goes up: how wide the gaps are, where the pattern starts, how the slats handle outlets and switches, and how they end at corners and ceilings. This guide walks through those choices, plus the difference between felt-backed acoustic panels and solid slats, so your wall looks intentional from every angle.
Decide what your wood slat accent wall frames
Start with the purpose. A slat wall behind a bed frames the headboard; behind a TV it hides cables and gives the screen a backdrop; in an office it adds warmth to your video-call background. Photograph the wall from the doorway and from your main seat, and mark where the furniture, TV or artwork will sit.
Then decide coverage. Full-height, wall-to-wall slats make the strongest statement and hide the fewest problems at the edges. A defined panel, for example a section centered behind a bed that stops short of the corners, can look more tailored and uses less material. Slats that continue onto the ceiling create a canopy effect but add complexity with lighting and vents.
Slat spacing, direction and where the layout starts
Spacing sets the rhythm. Tight gaps read as a textured surface; wider gaps read as distinct stripes with the backing showing through. Many designs use a gap close to the slat width, but there's no single right answer. Tape a few strips of paper to the wall at two or three spacings and look at them from across the room.
Direction changes the room. Vertical slats emphasize height and suit most living rooms and bedrooms. Horizontal slats stretch a wall and suit long, low spaces. Pick one and keep it consistent.
The most overlooked decision is where the layout starts. Work out the pattern from the centerline of the focal point, such as the bed or TV, not from one corner. Then check the ends: you want equal, reasonably sized pieces at both edges, not a full slat on one side and a thin sliver on the other. Small adjustments to the gap spread across the whole wall often solve it.
Plan outlets, switches and mounted items
Map every outlet, switch, thermostat, vent and TV mount on a simple sketch before ordering. Ideally, a device lands centered in a gap or centered on a slat, not half-covered. Sometimes the layout can shift slightly to make that happen; sometimes a device needs to move.
When wood is added over the wall, existing electrical boxes end up recessed behind the new surface. Electrical code generally requires boxes in combustible surfaces like wood to be flush with the finished face, which usually means box extenders. Relocating a box or adding a new outlet for a TV or LED lighting is electrical work for a licensed electrician, and new wiring typically needs a permit in the City of Los Angeles. Plan it before the slats go on.
- Mark outlets, switches, vents and thermostats on a wall sketch
- Decide which devices stay, move or get box extenders
- Plan TV mount blocking and a cable path behind the slats
- Locate studs or plan a backer panel for secure attachment
- Decide where LED drivers and power supplies will be accessible
Edges, corners and transitions
Edges are where a slat wall looks either finished or improvised. At an outside corner, slats can end with a finished edge piece or wrap the corner. At an inside corner, decide whether the last slat sits tight to the adjacent wall or leaves a deliberate gap. At the ceiling, slats can run tight, stop short with a shadow gap, or end under a trim piece.
At the floor, choose whether slats sit on top of the baseboard, replace it, or stop a consistent distance above it. Around windows and doors, the casing either stays and the slats butt into it, or it's removed for a cleaner, flush detail. Whatever you choose, write it into the scope so there are no surprises on installation day.
Acoustic panels vs solid slats
Many ready-made slat panels mount wood or wood-veneer slats on a felt backing. The felt and the air gap behind the slats absorb some sound, mainly mid and high frequencies, which can reduce echo in rooms with hard floors and tall ceilings. They install quickly in large sections, but seams between panels need planning, and the felt color becomes part of the look.
Solid slats fastened to the wall or a painted backer give more freedom with species, thickness, spacing and finish, but on their own they provide little sound absorption. Adding acoustic insulation behind them can help. If sound control matters, check the manufacturer's acoustic data rather than assuming any slat wall reduces noise.
In commercial spaces such as offices, restaurants and shops, wood wall finishes may be subject to interior-finish fire requirements, so confirm the product's rating with your building department or designer before ordering.
What we need from you to quote it
- A wide room photo and a straight-on photo of the wall
- Wall width and height, plus locations of outlets, switches and vents
- Furniture, TV or artwork positions the wall should frame
- Preferred wood tone, direction and spacing, or reference images
- Whether you want acoustic panels, solid slats or a recommendation
- Any lighting you want built into the slats
Send these through the Accent Walls form and we'll review the layout, edges and electrical coordination with you, and bring samples so you can compare wood tones and backing colors in your own light.