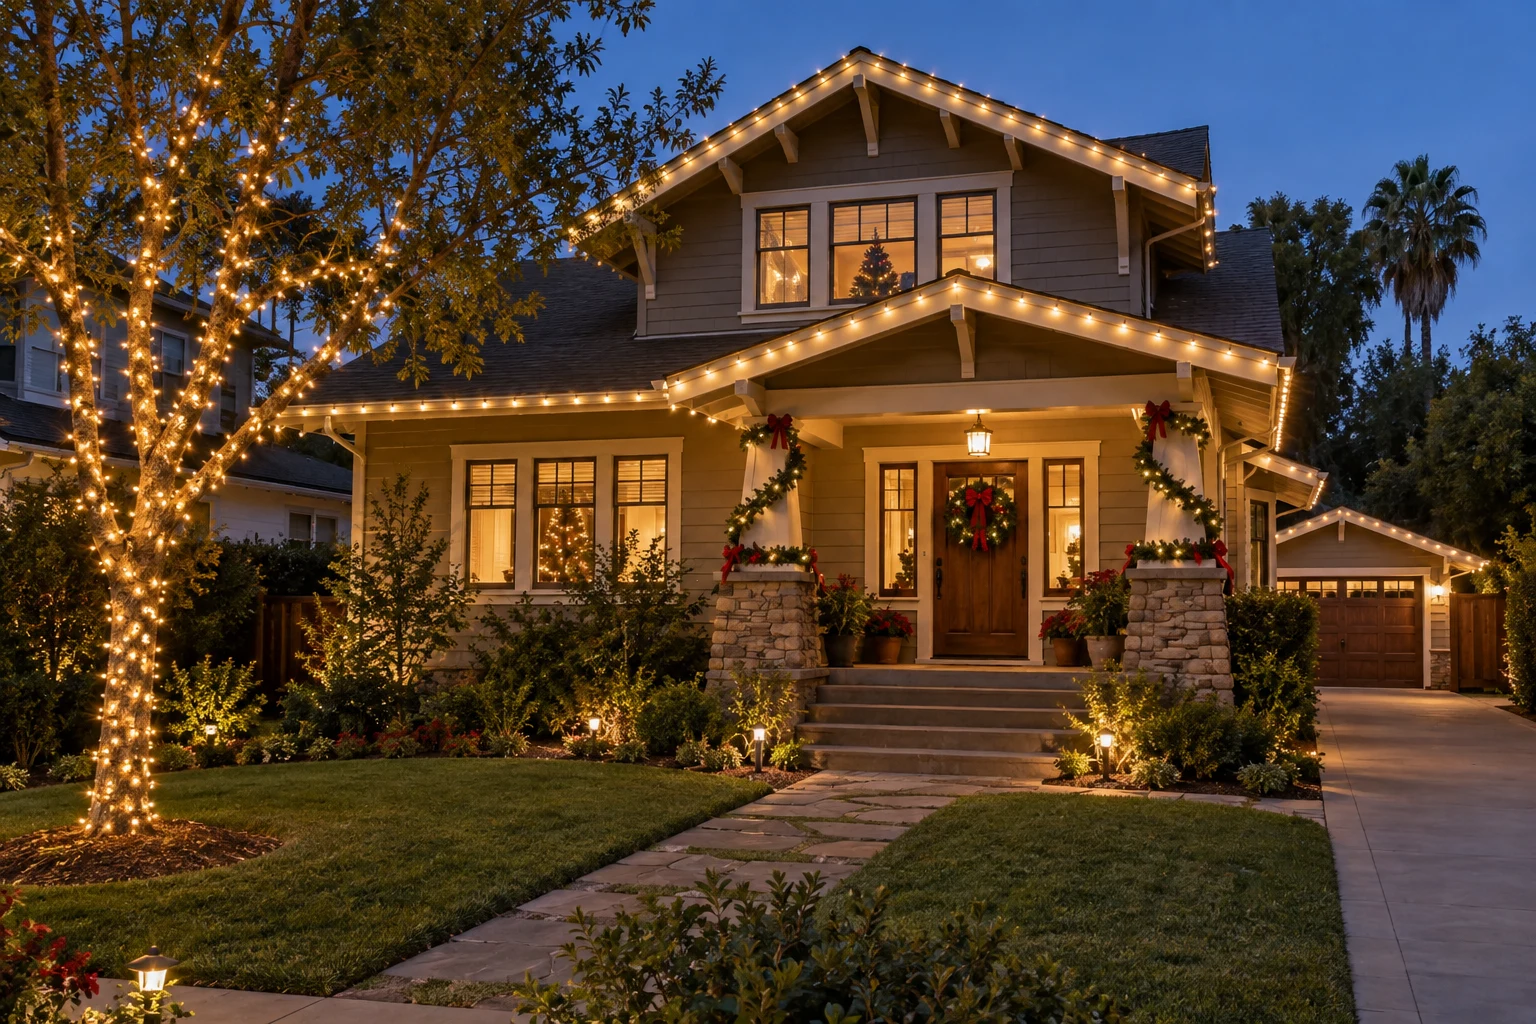
Professional Christmas light installation in Los Angeles covers more than hanging strings on the roof. A good job plans the look, attaches lights with clips instead of nails or staples, uses outdoor-rated gear on protected outlets, sets timers, and comes back after New Year's to take everything down and pack it for next season. Here's what to decide before you book.
Decide what to light and the style
Most displays are built from a few elements: the roofline and gutters, the entry and door frame, windows, trees and shrubs, wreaths and garlands. Choose the features that define the house from the street, then pick a color scheme. Warm white looks architectural and calm; multicolor feels playful; cool white reads crisp and modern.
For storefronts, restaurants and office lobbies, focus on the entrance, the window line and signage. Confirm with the landlord or property manager what can be attached to the facade and when installation can happen.
Light quality matters as much as quantity. Larger bulbs spaced along the roofline look classic from the street; mini lights read better on shrubs and railings; wrapped tree trunks add height without needing roof access. Mixing warm and cool white in one display usually looks accidental, so pick one white and stick to it.
Christmas light installation without roof damage
Nails, screws and staples leave holes in fascia, trim and shingles, and those holes can let water in. Professional installers use plastic clips that grip gutters, shingles or ridge edges, and remove cleanly. The right clip depends on the roof material: composition shingle, clay or concrete tile, and flat roofs each call for a different approach.
- Clips matched to gutters, shingle edges or tile, not nails or staples
- Ladders set on stable ground and tied off where needed
- No walking on clay tile roofs unless there's no other access
- Lights kept clear of roof vents and flue caps
- Wires secured so wind doesn't whip them against the house
- Photos taken of the layout for next year's install
Many Los Angeles homes have Spanish-style clay tile, flat roofs with parapets, or tall two-story eaves over hillside lots. Each changes how lights are hung and how safely the roofline can be reached. Photos of every side and a note about the roof type help the installer plan ladders and the right clips before the visit.
Measure or estimate the roofline length you want lit. Installers typically quote by length of roofline and number of features, so a rough measurement or a satellite image of the house makes the first estimate more accurate.
Power: outdoor outlets, GFCI and load
Holiday lights should be rated for outdoor use, and outdoor receptacles at homes are required to have GFCI protection. Outlets that stay in use need weather-resistant in-use covers. Many houses have only one or two outdoor outlets, placed in the wrong spots for a roofline display, which leads to long cord runs across walkways.
LED light sets draw far less power than older incandescent strings, so more lights can share a circuit. Even so, large displays should be spread across outlets and checked against circuit capacity. If you want a convenient outdoor outlet near the roofline or front yard, a licensed electrical contractor can add it as permanent work that also serves future seasons.
Keep connections off the ground and away from sprinkler heads. Southern California's winter rains are usually light, but water collecting in a plug connection is the most common reason outdoor GFCI outlets trip. Drip loops and raised connection points help.
Decorative installation vs. licensed electrical work
Hanging lights, wreaths and garlands and plugging them into existing outlets is decorative, seasonal installation. It is temporary and comes down after the holidays. Adding outlets, running a new circuit, or installing permanent roofline or landscape lighting is fixed wiring handled by a licensed electrical contractor, and it may need a permit depending on your city.
Keeping those scopes separate makes it easy to approve the seasonal work each year while deciding separately on any one-time electrical upgrade.
Timers, maintenance and takedown
A timer or smart plug keeps the display on during evening hours and off overnight. Agree on how many timers you need and which zones they control. Ask whether the proposal includes a service call if a strand goes out mid-season.
Set the takedown window when you book, usually in the first weeks of January. Decide whether lights are packed for your own storage or stored for you, and ask that each set be labeled by location. That shortens next year's installation and makes it easier to reuse what still works.
For businesses, align lights with opening hours and any evening events, and confirm who to call if a section fails during the holiday rush. A storefront that goes dark on a busy weekend is worth a quick service visit.
If you enjoy the display, keep the layout photos and a list of what was installed where. Next year you can approve the same plan quickly, or adjust it by replacing a few sets rather than starting over.
What we need from you to quote it
- Daylight photos of each side of the house or storefront you want lit
- Roof type and approximate height of the roofline
- Reference images of the style and colors you like
- Lights and decorations you already own and want reused
- Locations of existing outdoor outlets
- Preferred install date, takedown window and storage preference
Send these to Chain Construction and we'll put together a layout and seasonal proposal. If new outdoor outlets or circuits would help, our licensed electrical partner scopes that work separately.