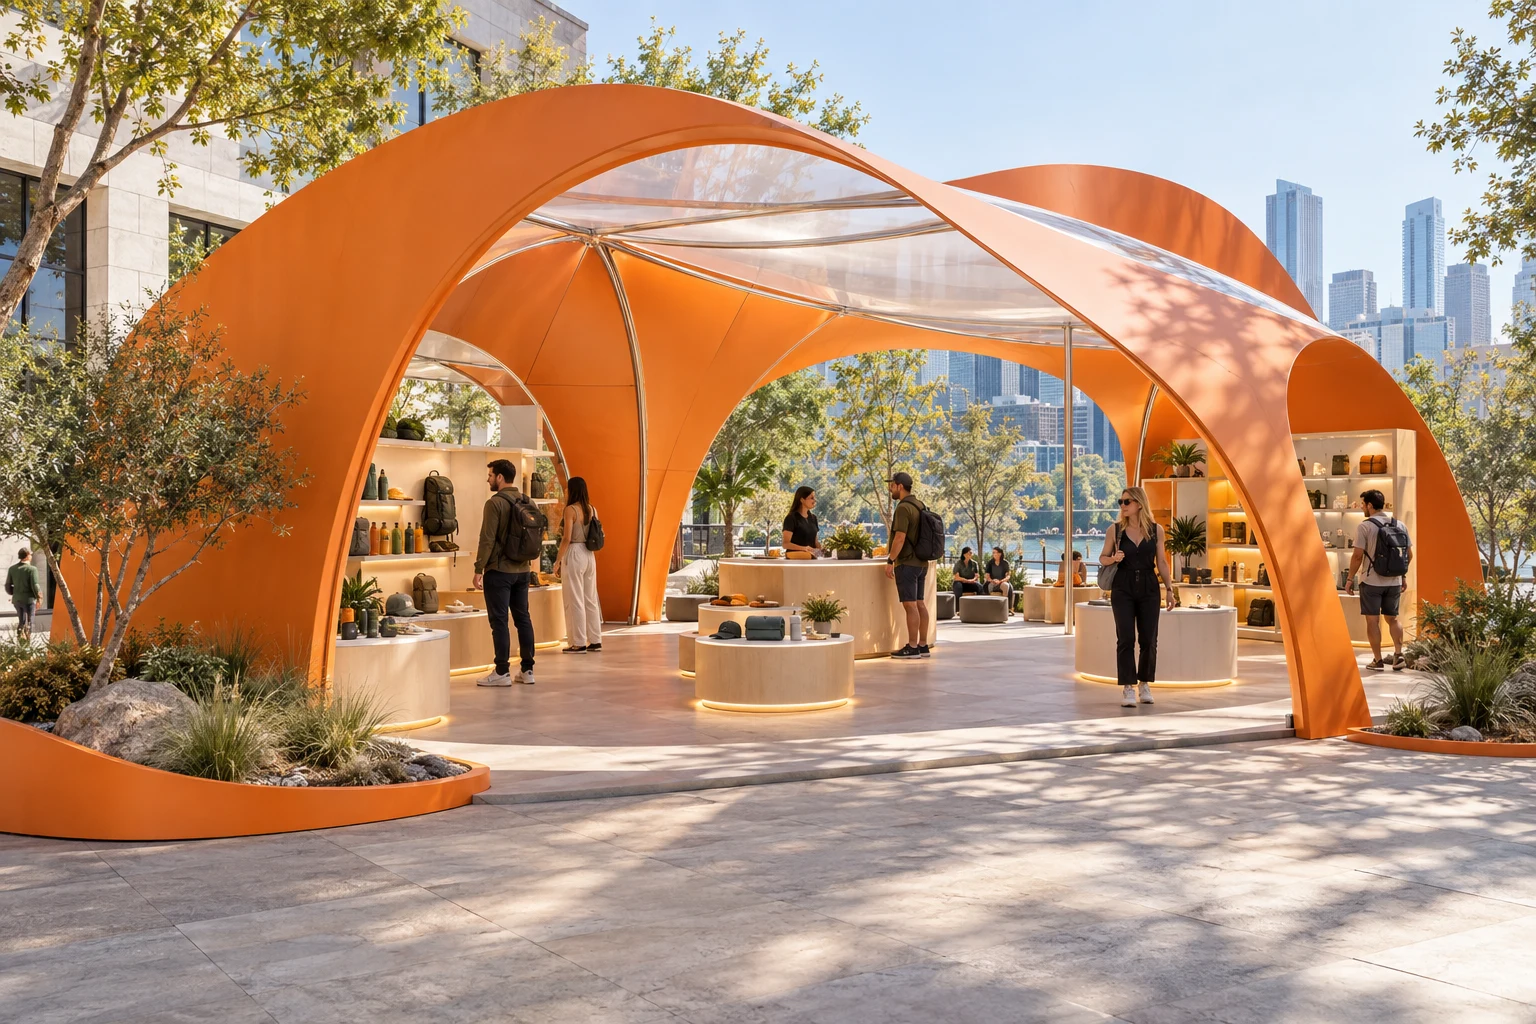
A strong pop-up fabrication brief tells the builder what guests will do inside the pavilion, where it will stand, what the venue allows and how much time the crew has to get in and out. When those facts arrive together, design and pricing move quickly. When they arrive late, a striking concept can stall on a height limit, a missing permit or a fabric the fire marshal will not accept.
What goes into a pop-up fabrication brief
Start with the experience, then the building. Explain whether the pavilion hosts sampling, demos, retail, registration, content capture or a mix, and how staff will work, restock and take breaks. Then give the physical and schedule facts. A fabricator can work with an open creative direction, but not with an unknown footprint or load-in window.
- Campaign objective and the main guest activities
- Venue name, address and indoor or outdoor setting
- Available footprint, maximum height and any shared walls or neighbors
- Event dates, plus load-in and load-out windows
- Expected guest numbers and how they enter, queue and exit
- Power, water, internet and lighting needs
- Back-of-house storage, staff area and any lockable space
- Brand guidelines, renderings or reference images with notes
- Whether the structure will be reused, stored or disposed of after the event
- The decision-maker who can approve design and budget changes
If you have a working budget range, share it with the brief. It does not lock in a price; it tells the fabricator whether to propose a fully custom structure, a hybrid of custom facades on a rental system, or something in between. Without it, the first design round often has to be redone.
Venue rules that shape the design
Ask for the venue or exhibitor packet before design starts. It usually covers floor loading, height limits, how structures may be secured, whether drilling or taping to floors is allowed, and who may hang anything from the ceiling. Some venues require their own designated contractors for rigging, electrical connections or certain labor, and many ask for a certificate of insurance naming them as additional insured.
Outdoor sites bring different constraints: ground surface, slope, drainage, wind exposure, vehicle access and neighbors. Parks, plazas and streets may involve a special event permit from the city on top of any rules from the site owner. Share whatever you have, even if it is incomplete; the gaps become the first list of questions.
Permits and approvals for temporary structures
Requirements differ by city, county and venue, so treat permits as a scoped task, not an assumption. Depending on size and use, a temporary pavilion, stage, tent or platform may need review by the local building department, the fire authority or both. Larger or taller structures may call for engineered drawings, and guest-facing spaces must still consider accessible routes, ramps and counters.
Put in writing who researches requirements, who prepares drawings, who applies and who is on site for any inspection. Permit review adds lead time that the creative schedule has to absorb, so raise it at the first meeting rather than after the design is approved.
Flame-resistant and fire-retardant materials
Fire officials commonly ask for proof that fabrics, drapery, scenic panels and decorative materials meet flame-resistance standards. For curtains and fabrics, test certificates often reference NFPA 701. In California, the Office of the State Fire Marshal registers flame-retardant chemicals and treated fabrics, and local fire codes regulate decorative materials in assembly spaces. Other states and cities have their own rules.
Specify inherently flame-resistant or properly treated materials from the start, keep manufacturer or treatment certificates in a folder on site, and remember that some treatments can weaken with washing or weather. Confirm the exact requirement with the venue and the local authority having jurisdiction rather than relying on a general product claim.
Materials, finishes and reuse
Material choices are part of the creative conversation, not a technical afterthought. Painted wood panels give crisp color and easy graphics. Metal frames carry spans and heights that wood struggles with. Translucent acrylic or polycarbonate can glow at night, and tension fabric covers large curves with little weight. Each choice affects weight, install time, durability and how the pavilion looks on camera.
Say early whether the pavilion is a one-time build or a touring asset. A reusable structure needs modular panels, durable connections, edge protection and crates or carts for storage, while a single-use build can focus budget on the visible surfaces. Also ask what happens to materials after the event, since disposal and recycling are real line items.
Planning load-in and load-out
The build is only as good as the hours available to install it. Many venues schedule load-in tightly and allow even less time to strike. Design the pavilion in modules that match the truck, dock and doors, and sequence the install so floors, walls, electrical, graphics and furniture go in without crews blocking one another.
- Confirmed load-in and load-out times and any marshalling or check-in process
- Truck size limits, dock access and elevator dimensions
- Floor protection plan for the venue surface
- Install sequence and labor count for each stage
- Power connection point and who is allowed to connect
- Waste, packaging and crate removal or storage
- Strike plan, including what returns to storage and what is disposed of
Next step: what we need to quote it
Chain Construction builds experiential environments for brand and agency teams across the U.S. Send the brief above, the venue packet, reference imagery and your event dates. If permits or engineering are likely, say so, and tell us which items your team or venue already handles. We will reply with questions and a scope that separates design, fabrication, logistics and on-site labor so you can compare it clearly.