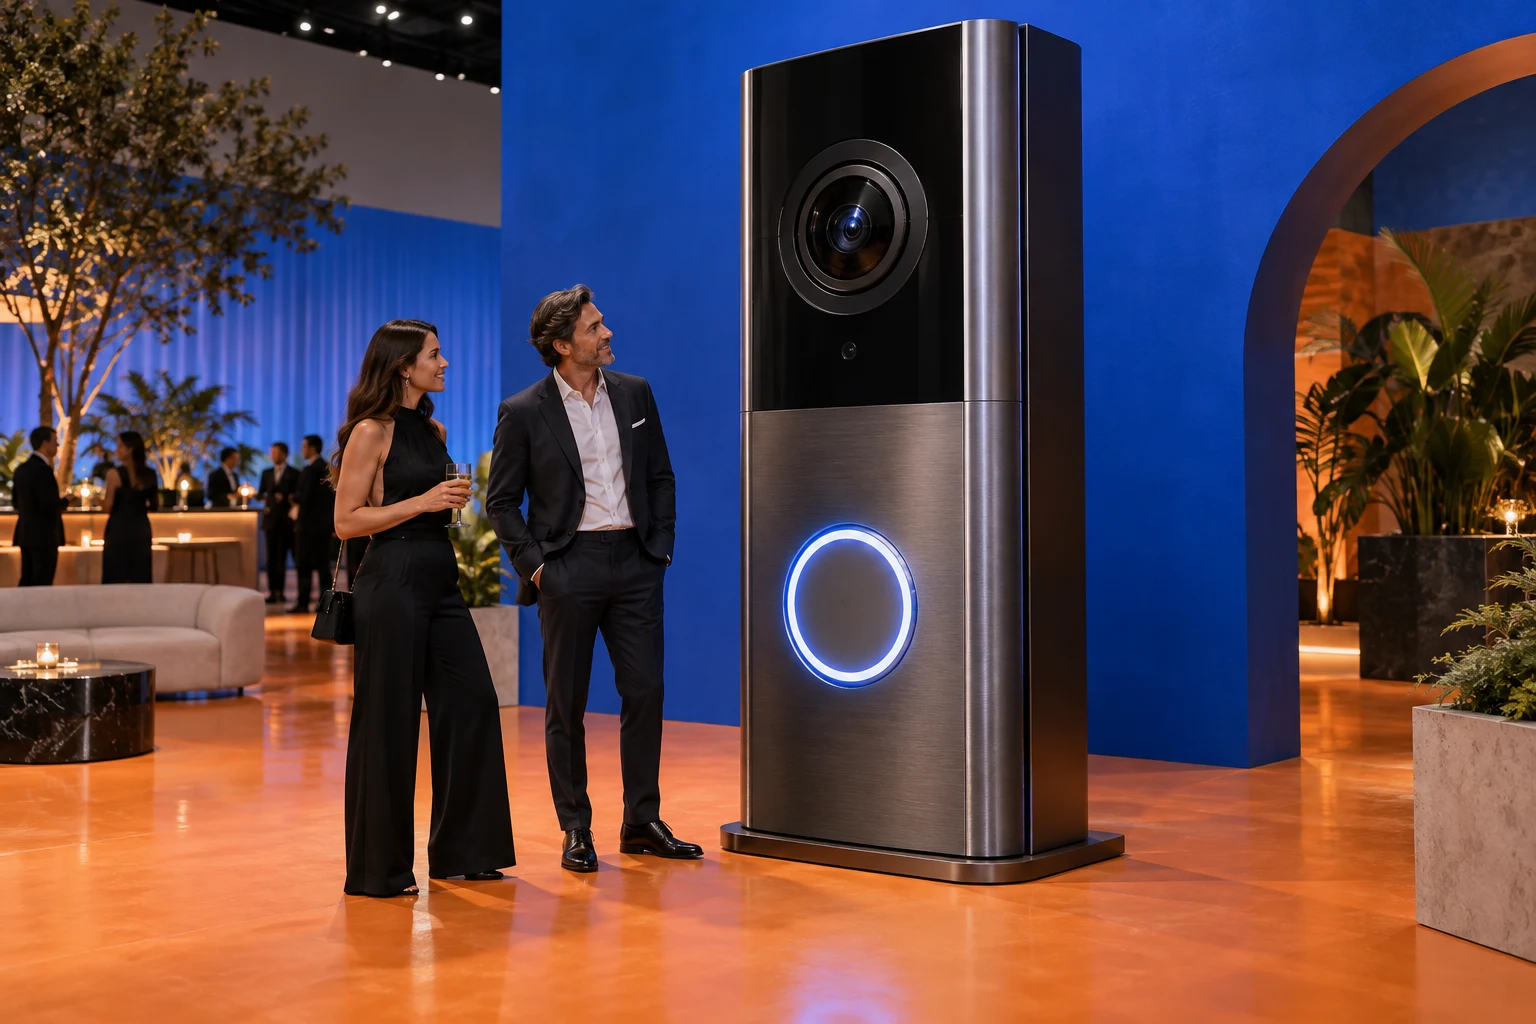
Oversized product props turn a familiar object into something people walk toward, photograph and talk about. Getting one right means choosing a scale that works in the venue, picking materials that survive handling, and deciding early whether the piece is built for one launch night or a touring season. This guide walks brand marketers, agencies and experiential producers through those decisions before you ask for a fabrication quote.
Decide what the prop has to do
A hero prop can be a static sculpture, a photo backdrop, a touchable display or a housing for screens, lights and sound. Each role changes the build. A replica viewed from behind a stanchion can use lighter structure and more delicate finishes. A piece that guests lean on, sit beside or open needs rounded edges, hard coatings and fasteners kept out of reach.
Write the interaction down in one sentence and send it with your reference images. For example: guests stand next to the product for photos and press a lit button that triggers a sound. That single line tells the fabricator where to put reinforcement, access panels and power, and it protects the creative idea as the design is simplified for production.
Choosing scale for oversized product props
Scale is a ratio to the human body and to the room, not a number picked for drama. A product enlarged to roughly person height tends to photograph well because guests become the reference. Much larger pieces can dominate a booth, but they may lose the details that make the product recognizable, block sightlines to signage and staff, or crowd the aisle.
Before locking dimensions, mark the footprint and height on the venue plan. Check ceiling height, sprinkler heads, overhead rigging, aisle widths and what sits behind the prop in photos. Then work backward from the tightest point of entry: freight doors, elevators, dock height and the truck interior. Large forms usually need to split into sections, with seams placed along natural product lines so they disappear on camera.
Materials: foam, wood, metal and acrylic
Most giant replicas combine several materials, each chosen for what it does best. A typical build pairs a sculpted outer skin with a hidden structural frame and a stable base.
- CNC-carved foam: an efficient way to reach accurate curves and organic shapes; the carved form is hard-coated so it can be sanded, primed and painted
- Wood and plywood: internal frames, flat panels, bases and crates; easy to modify and fasten, but it needs sealing against moisture outdoors
- Steel or aluminum: structural spines, base plates and mounting points that carry load or resist tipping; aluminum saves weight on touring pieces
- Acrylic: lenses, faux screens, light diffusers and glossy transparent parts; it can be cut, formed and edge-polished, but it scratches and should stay filmed until install
- Molded shells such as fiberglass: worth discussing when several identical copies are needed, because one mold serves every unit
Ask how the structure and the skin are separated. The skin is what the camera sees; the structure is what keeps the prop upright, anchored and safe. Treating them as separate decisions lets you revise a finish detail late in the process without redesigning the frame underneath.
Finishes that read on camera and hold up
Color is where brand teams are most exacting. Provide official brand color references and physical samples if you have them, and approve painted sample panels under lighting similar to the venue. Gloss level matters as much as hue: high gloss shows every ripple in the surface underneath, while a satin finish forgives minor imperfections and reduces glare in flash photography.
For logos and fine graphics, decide whether they will be painted, vinyl-applied, printed or dimensional. A hard coat and clear coat protect foam from dents and scuffs, and matching touch-up paint should travel with the piece. If the prop is lit from inside, ask for a lit sample so you can check hot spots and color shift before the full build is finished.
Transport, installation and touring durability
A prop that tours from city to city is a different product from one built for a single launch. Touring pieces need road cases or custom crates, labeled sections, connections that line up the same way every time, and a structure that tolerates being assembled and taken apart repeatedly. Single-use pieces can be lighter, but they still have to survive at least one truck ride, one install and one strike.
- Crates or cases with lifting points and forklift access where needed
- Section sizes that fit the doors, elevators and truck on every stop
- Ballast, base plates or anchoring suited to the floor and any outdoor wind exposure
- Access panels for wiring, batteries and media players
- An installation guide with photos, piece labels and a tool list
- A repair kit with touch-up paint, spare fasteners and spare vinyl or acrylic parts
Outdoor activations add wind, sun and rain. Ask the venue and the local authority what they require for freestanding structures, and have the appropriate professionals review anchoring and wind loads rather than assuming a weighted base is enough. UV-stable coatings and sealed electronics are worth specifying from the start if the prop will live outside.
What we need from you to quote it
Chain Construction handles experiential builds for clients across the U.S. through our fabrication studio, BUILT / TO BE SEEN. To prepare a useful quote, send the product reference or 3D files if available, your target size, a one-sentence interaction description, the venue or tour list, indoor or outdoor use, the number of copies, event dates and any venue packet you already have.
Tell us what is fixed and what is flexible. We will come back with questions about scale, materials and logistics before pricing, so the quote reflects the prop you actually need rather than a guess.