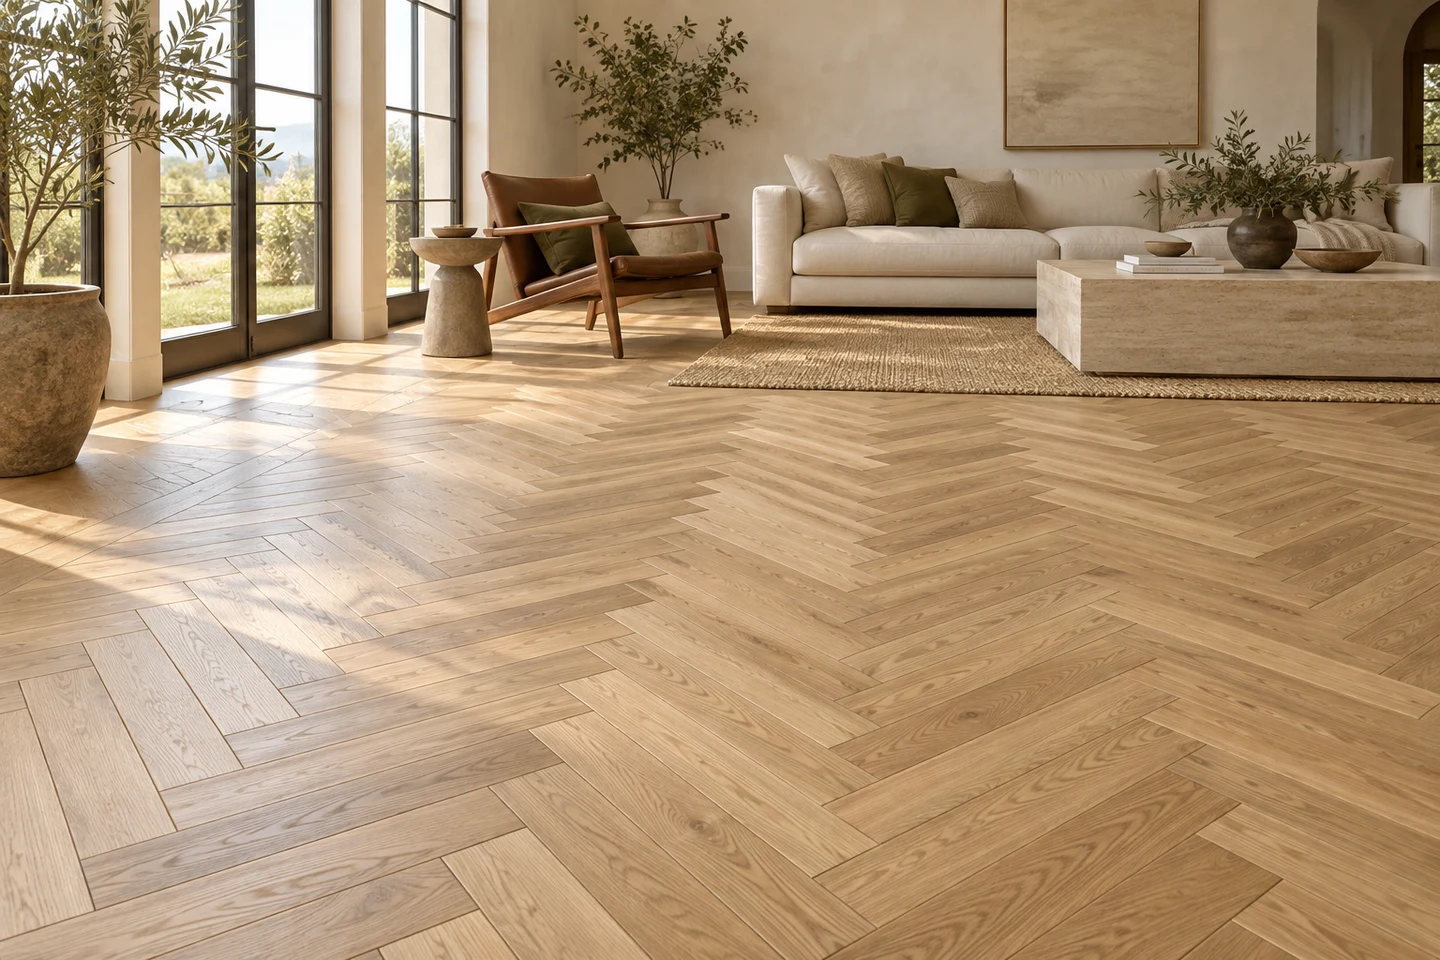
A herringbone or chevron floor is one of the most striking ways to use wood, and it's also the least forgiving to install. Successful herringbone parquet installation depends on careful layout, a flat subfloor and a few decisions you make before the first board goes down. This guide explains the difference between the two patterns, how the layout is set, and what to plan so the finished floor looks precise from every doorway.
Herringbone vs chevron: how the patterns differ
Both patterns create a zigzag, but they're built differently. Herringbone uses rectangular boards with square ends. Each board's end meets the side of the next at a right angle, creating a staggered, woven look with a broken point. Chevron uses boards with ends cut at an angle, so the boards meet end to end in a clean, continuous V.
Herringbone feels classic and textured; chevron reads more graphic and directional. Many prefinished products come in left and right boards, sometimes labeled A and B, which must be ordered in balanced quantities. Chevron boards are made for the pattern with precut angles, so they can't be swapped for standard planks.
- Herringbone: square ends, staggered woven look, more traditional
- Chevron: angled ends, continuous V point, more modern and directional
- Both: need left and right boards and a careful centerline
- Both: more cuts and a larger overage than straight planks
Choose board size and direction
Board size changes the character. Small, narrow blocks create a busy, fine-grained pattern that suits traditional rooms. Longer, wider boards make a bolder, calmer pattern that works well in large, open spaces. Look at samples laid out on the floor, not just a single board.
Direction matters even more. The pattern's points usually run along the room's longest axis or toward the main view, such as from the entry to a window wall. In connected rooms, decide whether the pattern continues through doorways or changes direction at a border. Sketch the pattern over your floor plan so you can see where the points land.
Herringbone parquet installation starts with the centerline
Layout comes before any glue. The installer establishes a centerline for the pattern, usually centered on the room or a key feature such as a fireplace, island or main doorway, and snaps reference lines on the subfloor. A few rows are dry-laid to check how the pattern meets the walls and doorways.
Walls in older homes are rarely perfectly square. With a straight plank floor, that's hard to notice. With herringbone or chevron, an out-of-square wall shows as a pattern that drifts or tapers along the edge. Checking room dimensions and angles before installation lets the layout split any difference evenly, rather than leaving it visible at the most prominent wall.
Order enough material for the pattern. Herringbone and chevron produce more offcuts than straight planks, so the overage is larger, and borders add their own quantity. Keep all boxes from the same production run where possible so color stays consistent, store them in the rooms as the manufacturer directs for acclimation, and set aside a few spare boards for future repairs.
Borders, frames and edges
A border, sometimes called a frame or header, is a band of boards running around the room's perimeter. It gives the pattern a finished edge, hides small cut pieces, and absorbs out-of-square walls. Borders can be one or two boards wide, in the same wood or a contrasting tone.
Without a border, the pattern runs straight to the walls and the cut ends are covered by baseboards. That looks more contemporary but relies on a precise layout. Doorways need special attention either way: a border across the threshold or a neat transition piece keeps the pattern from ending in awkward slivers.
Subfloor, moisture and installation method
Patterned floors need a flatter subfloor than straight planks, because small dips and humps show up as uneven joints and edges that catch the light. Expect some leveling or patching. The manufacturer's flatness tolerance applies.
On a concrete slab, parquet is typically glued down with an adhesive suited to wood and to the slab's moisture conditions, after moisture testing. On a raised foundation with a plywood subfloor, boards are usually glued and nailed or stapled. Some click-together herringbone products can be floated, which avoids glue but can feel different underfoot. Flooring should be acclimated as the manufacturer directs. Our comparison of engineered and solid hardwood explains how your foundation affects product choice.
Prefinished or site-finished
Prefinished herringbone arrives with the stain and topcoat applied, so the floor is ready soon after installation and the job creates less dust. Most prefinished boards have small bevels at the edges, which emphasize each board's outline.
Unfinished boards are sanded flat after installation, then stained and finished on site. The result is a smooth, flush surface with crisp joints and complete control over the final color, but it adds sanding, finishing and drying time, and the rooms must stay empty while the finish cures. Either way, plan baseboards, transitions and stair details at the same time as the floor.
Think about wear, too. A matte or satin finish hides fine scratches and dust better than a high gloss, which matters in busy rooms and homes with pets. Ask how the chosen finish is maintained and whether it can be recoated later without a full sanding.
What we need from you to quote it
- Floor plan with room dimensions and doorways
- Photos of each room, including walls where the pattern will be most visible
- Pattern choice: herringbone or chevron, board size and border preference
- Samples or product links, if you've chosen them
- Current flooring, foundation type and any radiant heat
- Prefinished or site-finished preference, plus baseboard plans